This was tested for Oqtane v3.1+ and works without issues.
Important: This will not work with Oqtane Source code version.
Pre-Requisites
- You have Oqtane installed as a release-build (not in dev-mode) and a host account
- Ensure you created backup of your web folder and sql database.
- Ensure you have the .net Core 7 Hosting / Runtime installed on the server - for Oqtane 3 you only had v6, so if this is the first system you're upgrading, make sure this is done.
- to find out if it's installed, run
dotnet --list-runtimes according to Microsoft
- After upgrading, you must restart IIS - eg using
iisreset /restart.
Choose preferred Upgrade Path
Option 1: Automatic Upgrade using System Update
- Login as host user and open Admin Dashboard / System Update
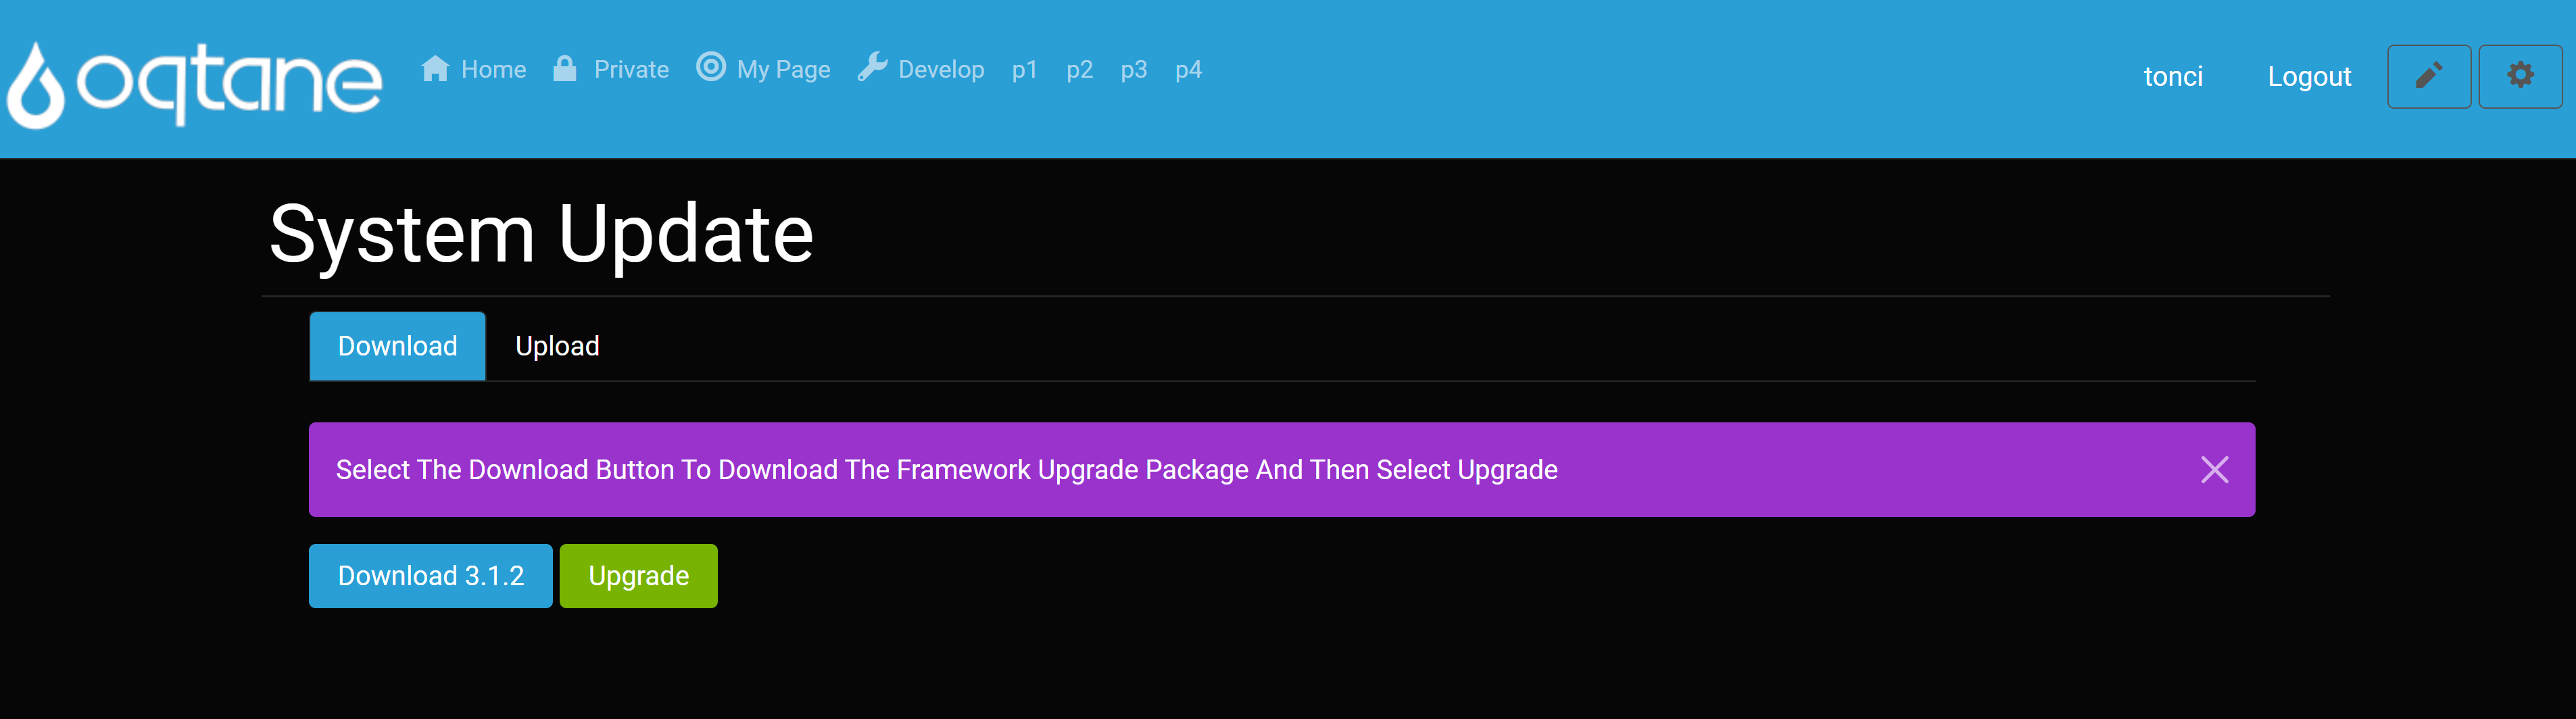
- If Oqtane Framewrok is not already up to date, you can select the [Download] button to download the framework upgrade package and then select upgrade.
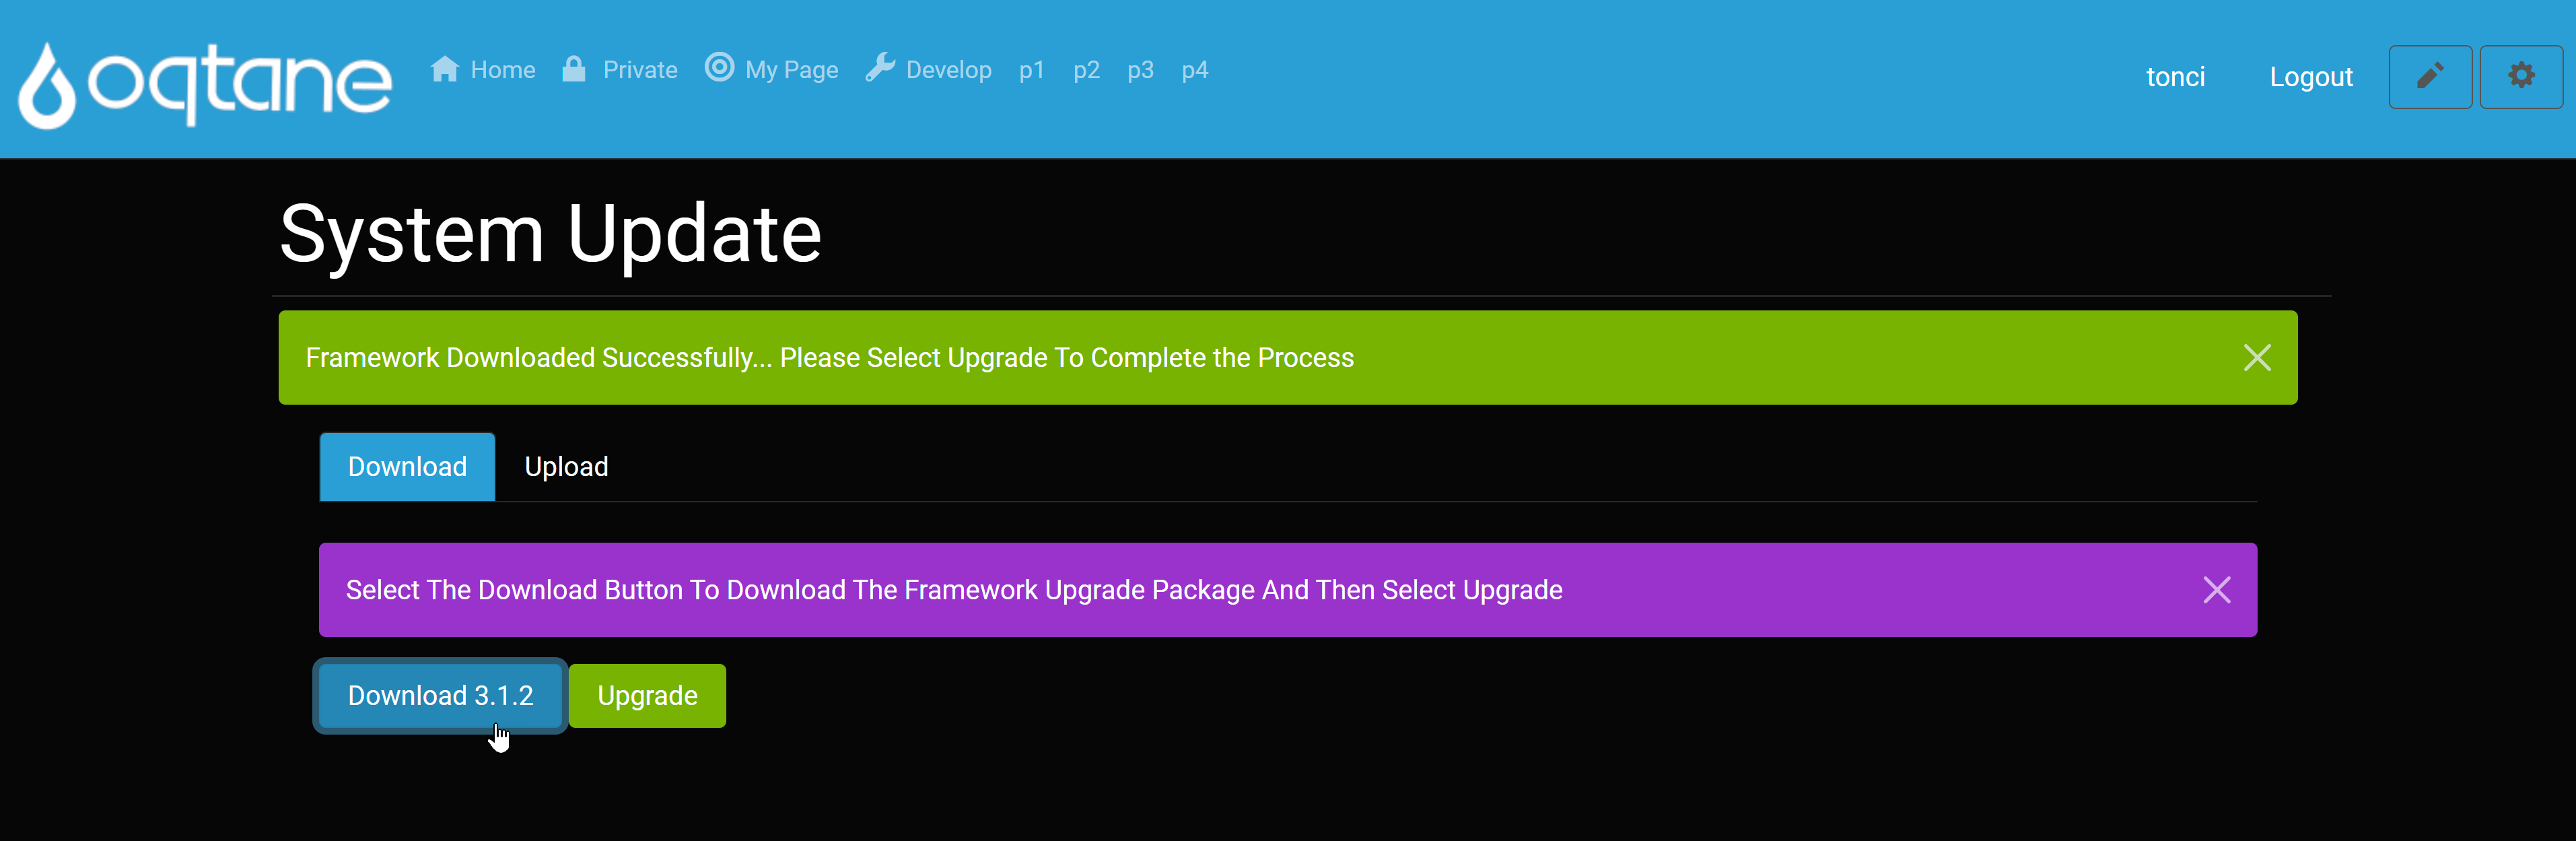
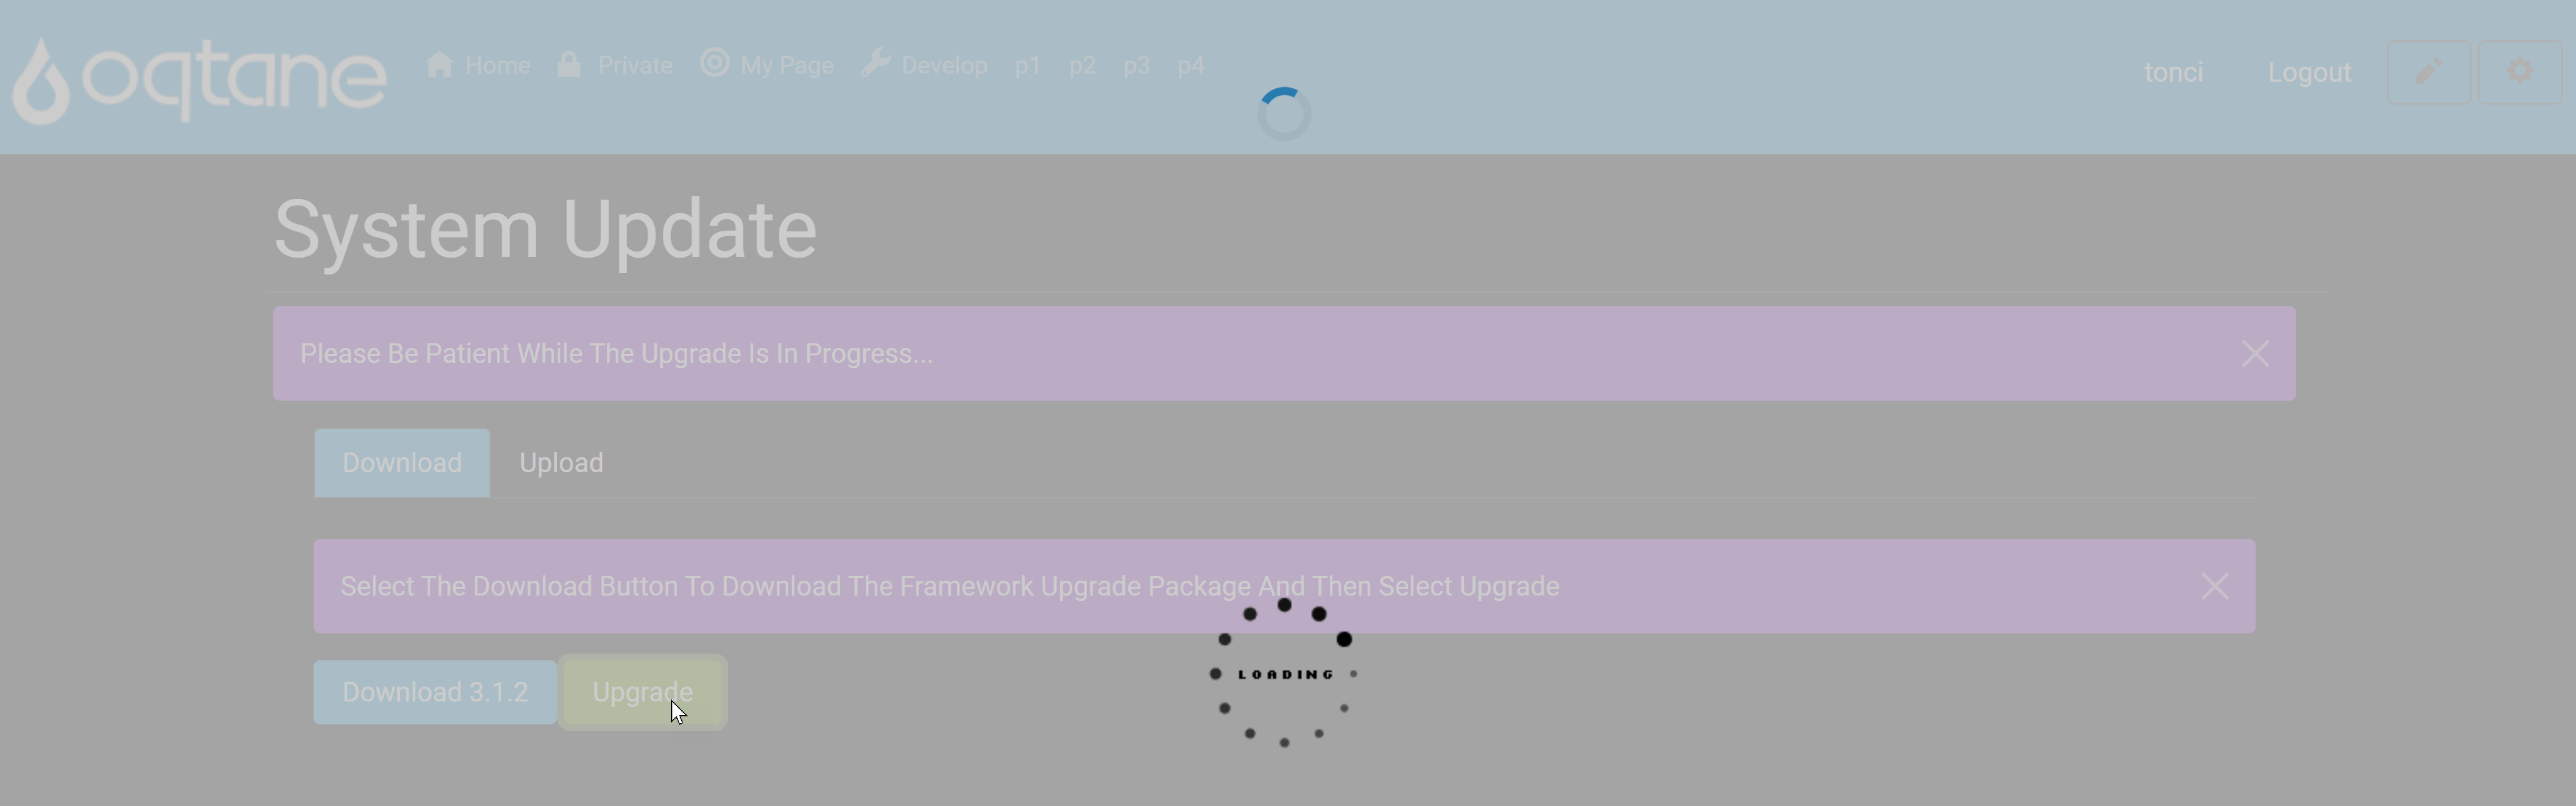
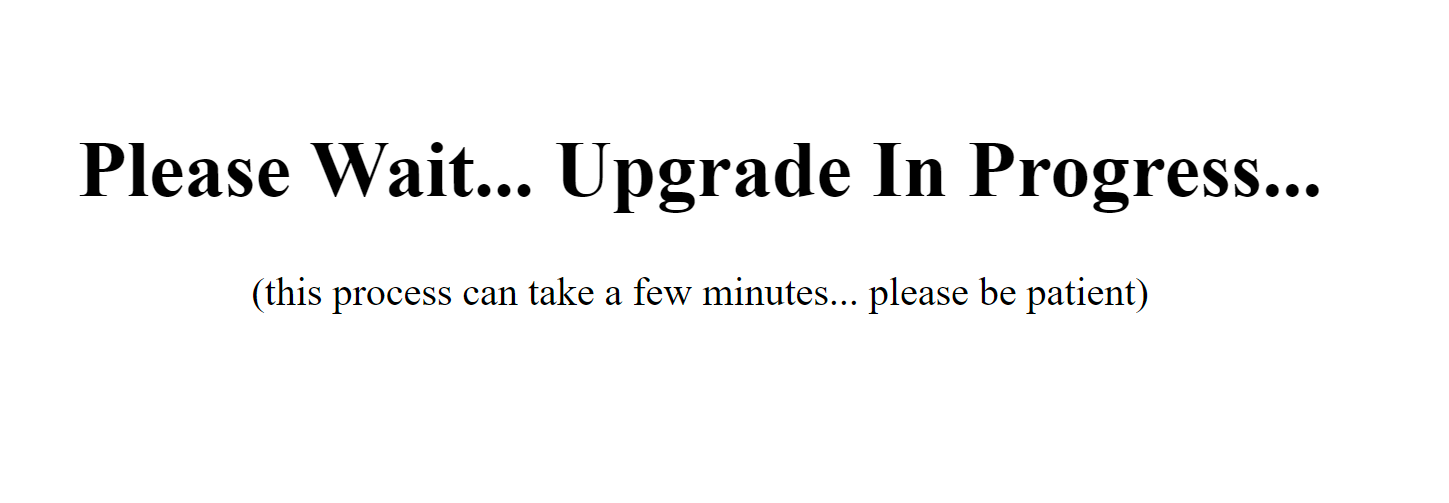
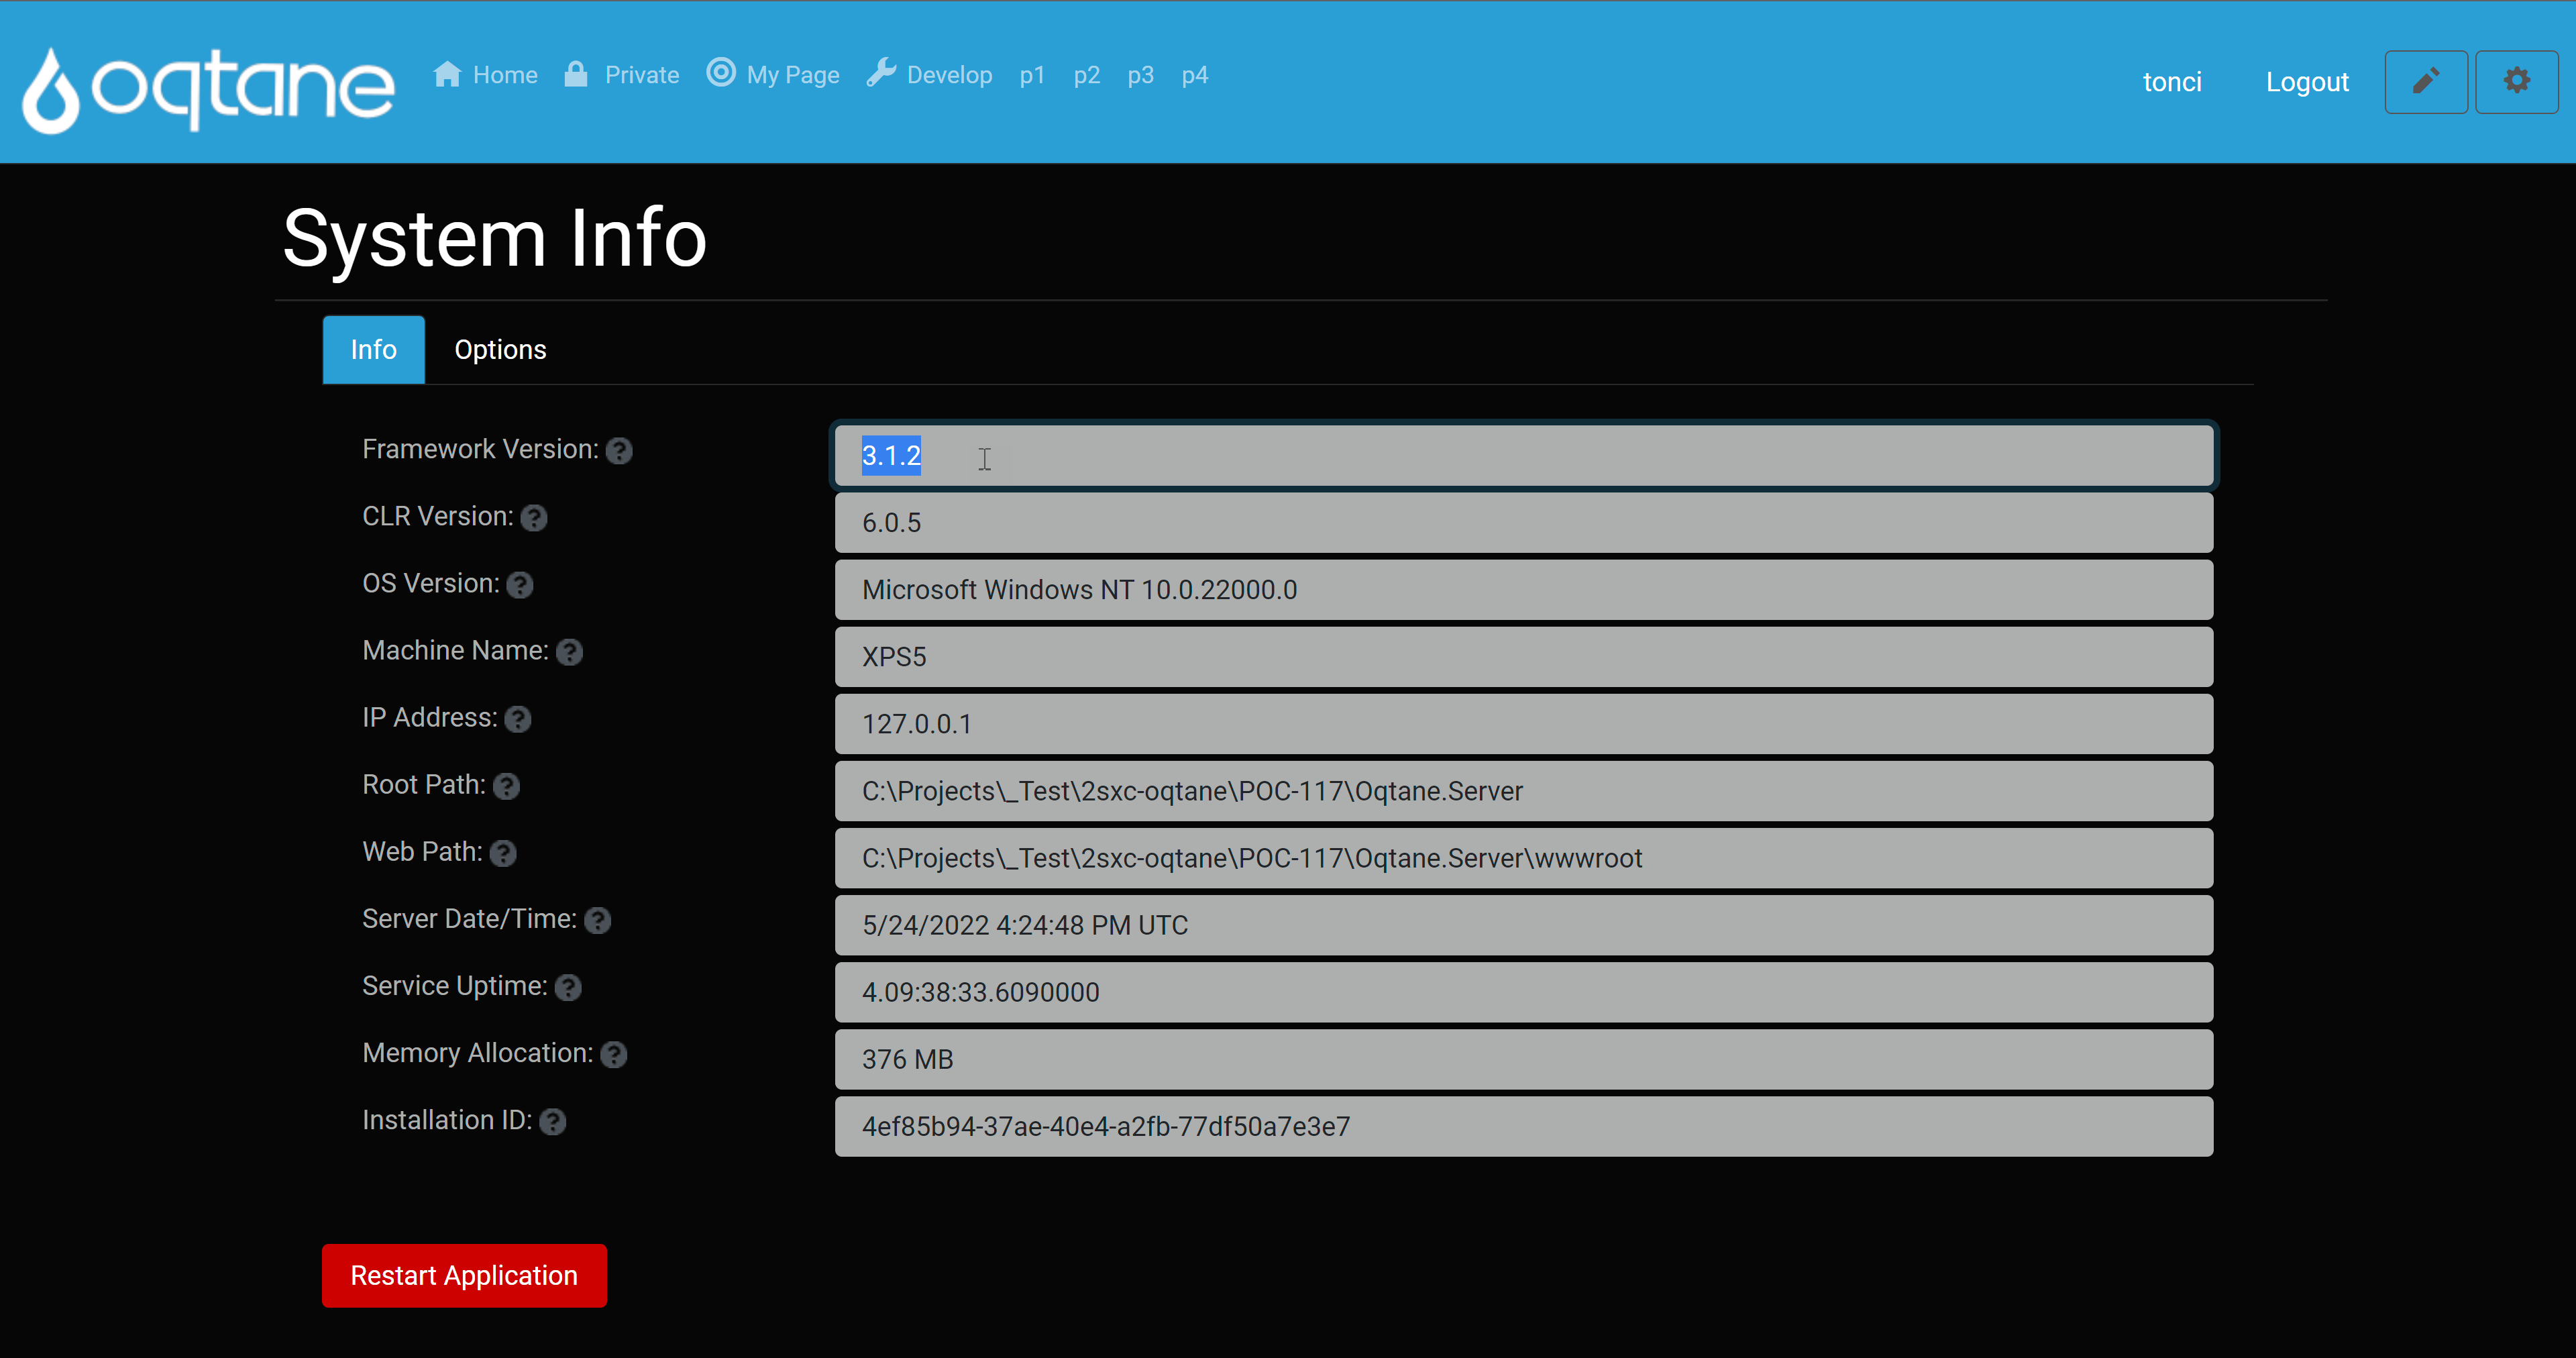
- After several minutes, you can log in and check in Admin Dashboard / System Info that Oqtane version is upgraded.
Option 2: Manual Upgrade
- Copy the
wwwroot/app_offline.bak to the root folder and rename it to app_offline.htm. Note that the new location is in the root folder, and not in wwwroot any more. Your website should now be offline (please verify)
- Now get the Oqtane upgrade zip file from GitHub and unzip everything into the root folder, overwriting all DLLs and everything
- Delete your
app_offline.htm and visit your site again, everything should be upgraded
Afterwards: Install 2sxc (optional)
This is optional, but most Oqtane installations will also want to install 2sxc or upgrade 2sxc.
Note that going from Oqtane 3 - which runs older versions of 2sxc, you must upgrade to 2sxc 16.02+ or later. See compatibiity list.